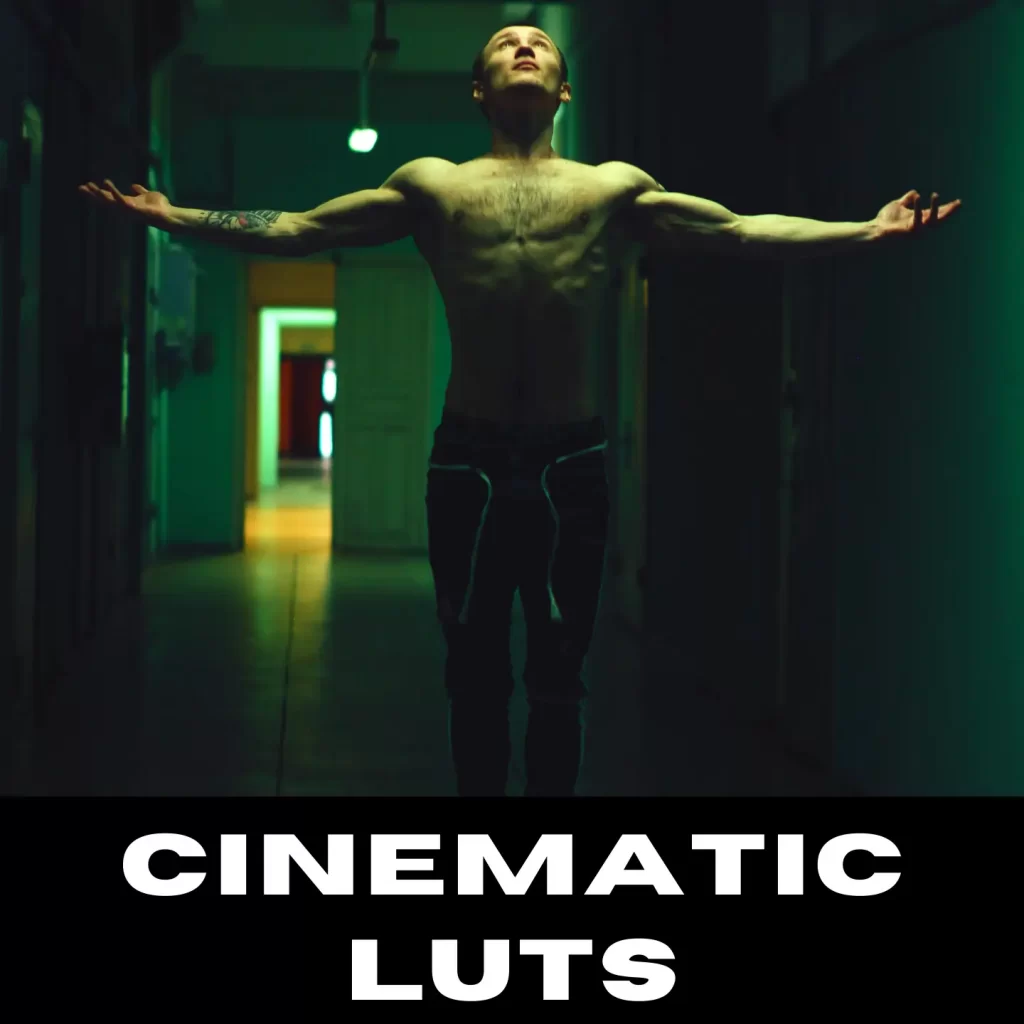
LUTS
Color grading with LUTs may dramatically improve the appearance of your films with only a few mouse clicks. Our library of LUTs provides you with the tools you need to quickly achieve the desired look.
We've included additional video assets in each bundle with the core product, making them a no-brainer.


Frequently Asked Questions
Our LUTs are compatible with footage from any camera (Canon 5D Mark III, Sony a7S, Panasonic GH4, Lumix LX100, Blackmagic Pocket, Fuji Film series, Blackmagic Cinema and Production 4K, RED Dragon, Arri Alexa, etc). They are optimised for standard image profiles, with minimal contrast and saturation, resulting in a neutral, well-balanced image.
There’s no need to pre-color your film before applying the LUTs as long as you’ve properly exposed it and established the white balance.
However, if you’re having issues with contrast or colour balance, we recommend addressing those issues first before applying the LUT.
When applied to well-balanced neutral footage, every innovative LUT will always produce the greatest results.
Our LUTs can be used with the most photo and video editing softwares, on Mac and PC:
- Adobe Premier Pro
- Davinci Resolve
- Final Cut Pro X
- Adobe Photoshop
- After Effects
- Avide Media composer
- Wondershare Filmora
- Movavi and much more
Conversion LUTs/Camera LUTs can be used to restore a clip to its original state. Assuming adequate exposure, the LUT can be used as your grade or as the starting point for a grade. Of course, you don’t have to utilise a camera LUT at all; simply add some contrast and saturation to convert LOG to Rec 709.
Because Camera LUTs are applied first in the processing chain, they can clip shadow and highlight detail that might otherwise be lost during the grading process. This is typically not an issue with a well-exposed photo.
METHOD 1
- Step 1 Apply the “Lumetri Color” effect to the footage in your timeline. This effect can be found in the “Effects and Presets” browser, within the “Color Correction” folder.
- Step 2 Navigate to the “Creative” tab inside the Lumetri Color Effect Panel and select the drop down menu next to “Look”. Then select “Browse”.
- Step 3 Select your desired LUT and it will be applied to your clip.
This method works perfectly in Premiere Pro, however each time you want to switch to a new LUT you will need to repeat steps 2 and 3.
METHOD 2
Alternatively, you can also install the LUTs manually in a subfolder within the Premiere Pro application so that you don’t need to re-load them each time you want to use a new LUT.
To accomplish this, you will need to copy and paste the .cube files into the following subfolder:
- Mac: Macintosh HD/Applications/Adobe Premiere Pro/Adobe Premiere Pro.app (right click and select “Show Package Contents”)/Contents/Lumetri/LUTs/Technical
- PC: C:/Program Files/Adobe/Adobe Premiere Pro/Lumetri/LUTS/Technical
Once you have placed the .cube files into the correct folders, follow these steps:
- Step 1 Apply the “Lumetri Color” effect to the footage in your timeline. This effect can be found in the “Effects and Presets” browser, within the “Color Correction” folder.
- Step 2 Navigate to the “Basic Correction” tab inside the Lumetri Color Effect and select the drop down menu next to “Input LUT”.
- Step 3 Select your desired LUT from the dropdown menu and it will be applied to your clip.
Please note that although this method is more convenient than Method 1, Premiere Pro is technically using your LUT files as an “input LUT” as opposed to an “output LUT”. This may be an important consideration depending on your overall color workflow.
Step 1 Copy and paste the .cube files into the “LUT” folder located here:
Mac: /Library/Application Support/Blackmagic Design/DaVinci Resolve/LUT/
PC: ProgramData/Blackmagic Design/DaVinci Resolve/Support/LUT
You may choose to either copy the individual .cube files, or copy the folder that they are contained in. By copying the folder, the LUT files will be organized in a sub-folder when you later access them inside of Resolve.
Step 2 Launch DaVinci Resolve, and your LUT files will now automatically be loaded into the software.
Step 3 Apply your LUT in Resolve by doing the following:
In the Color Panel, create a new serial node and then right click on that node. Scroll down to “3D LUT” and then select your desired LUT from the sub menu. Once selected, it will instantly apply the look to your footage.
- Select a video clip in the browser or the timeline.
- In the Info inspector, click the Metadata View pop-up menu in the bottom-left corner and choose General, Extended, or Settings.
- Click the Camera LUT pop-up menu and choose Add Custom Camera LUT.In the window that appears, navigate to the LUT file you want to import, and select it.
- You can import 3D LUT files with the filename extensions .cube and .mga. You can select single files, multiple files, or a folder of files.
- Click the Output Color Space pop-up menu and choose the target color space that the custom camera LUT converts to.
- The target color space is usually indicated in the custom camera LUT name.Click Open.
- The custom camera LUT you imported appears in the Custom Camera section of the Camera LUT pop-up menu. If you imported a folder of LUT files, it appears as a submenu in that section of the pop-up menu.
- Step 1 Right click on a clip in your Bin and select “Source Settings”.
Step 2 In the “Source Settings” window, click “Color Management Settings”.
Step 3 In the “Color Management Settings” window, click on “Select LUT File”.
Step 4 Navigate to the desired .cube files and click “Open”. Once the LUTs are loaded into Avid Media Composer, you can close the “Color Management Settings” window.
Step 5 In the “Source Settings” window, select your desired LUT from the drop down menu and click “Add”. The LUT will then be applied to your clip.
- You can also use LUT files to color grade still images inside of Adobe Photoshop by following these steps:
Step 1 Open an image inside of Photoshop and then select “Layer” in the top menu bar. Navigate to “New Adjustment Layer” and click on “Color Lookup”.
Step 2 An Adjustment Layer will now appear on top of your image in the “Layers” panel. The “Properties” panel should also now be open. If it isn’t open, select “Window” in the top menu bar, and then click on “Properties”.
Step 3 On the “Properties“ tab, select the small grid-like icon on the top left (if it isn’t already selected), and select “3DLUT File” if it isn’t selected by default.
Step 4 Click on “Load 3D LUT” from the drop-down menu, and navigate to the LUT file of your choosing, Once selected, the LUT will be automatically applied to your image.
It’s also worth noting that you can dial down the opacity of your adjustment layer to decrease the effect if you want to create a more subtle look.
Don’t be concerned; it happens rather frequently that ZIP files cannot be opened using the Mac OS Archive Utility or the Windows Unarchiver. We recommend utilising the free application KEKA (on Mac) or 7zip (on Windows), both of which are far superior.
Paypal processes all orders submitted through our online store.
You can email [email protected] with your transaction/payment details if you do not receive the digital product link after purchasing it.
All digital product sales are FINAL. That implies there will be no refunds or exchanges. If you have any problems or questions with the product, please contact us at [email protected].
Do contact us with your query 24*7 at [email protected]